Here are tips on how to take photos to sell your home
According to a study conducted by a real estate photography company, first-rate photos can sell your home 32 percent faster than a home presented to potential buyers with low-quality or average images.
And these figures are certainly not just about super mansions or million-dollar homes: they apply to all categories of real estate!
When we consider, then, that the vast majority of real estate visits and sales starts with online listings, it is easy to understand the importance of taking quality real estate photographs-a well-crafted shot could help you sell your home even before the buyer sees it in person.
In order to achieve this effect, however, it is necessary for the photographs to be really good quality and, above all, done in the right way. So, it’s not enough to just pull out your cell phone and take a few random shots. In the next few paragraphs you will find some tips on how to take photos to sell your house that will help you sell your house in record time!
How to prepare your home for the photo shoot
Buyers want, even before scheduling a real estate visit, to be able to “taste” through photographs the potential of your home, to assess its qualities, size and to try to imagine themselves inside it.
To attract more potential buyers, as we said, it is important that the shots are of quality and, therefore, that the house is ready for a good real estate photo shoot.
Here are some things you can do to better prepare your property for the production of real estate shots.
First, tidy up and clean each room.
Start with the kitchen and remove everything from the counters and table, including toaster, microwave, blender, utensils, condiments, and generally all kitchen accessories.
This will not only make it easier to clean thoroughly, but in photographs the attention of potential buyers will be catalyzed by the potential of the kitchen and will not be distracted by accessories and miscellaneous items.
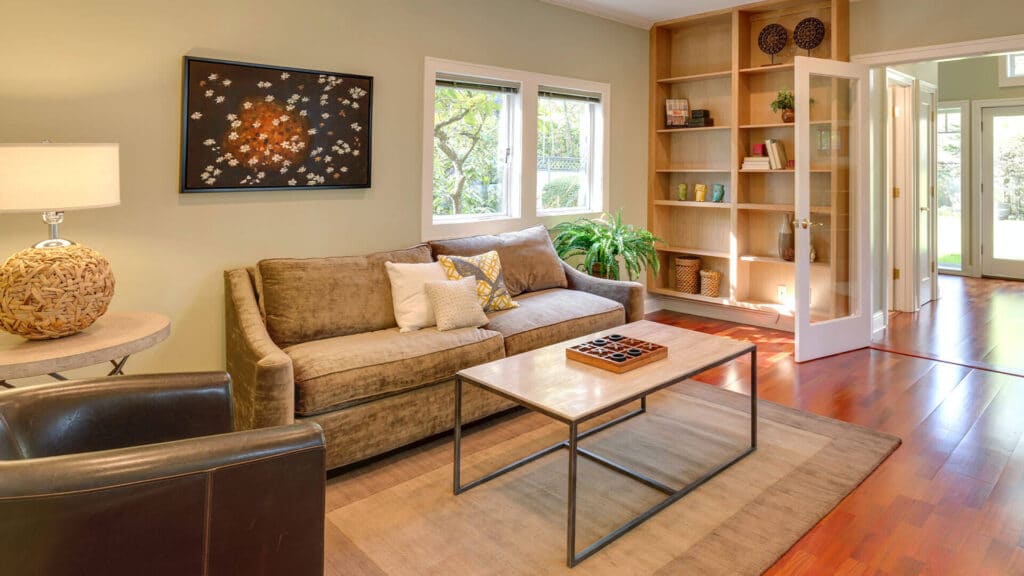
After completing the work in the kitchen, move on to the living room. Again, we suggest you remove any unnecessary items and leave only furniture and lamps.
You will be able to clean more thoroughly and give your living room a chance to be seen in all its glory. Personal items, accessories, and trinkets of various kinds, no matter how valuable they may be in terms of affection, do not arouse buyers’ interest: rather, they risk diverting attention or making it difficult for an outsider to imagine themselves inside the house.
Empty shoe racks in the living room or entryway, remove coats and hats from any coat racks, and put away any pet beds. Then thoroughly clean the entrance as well. Now, do the same for every other room. Stow everything but large furniture and light fixtures-this includes toiletries in the bathroom.
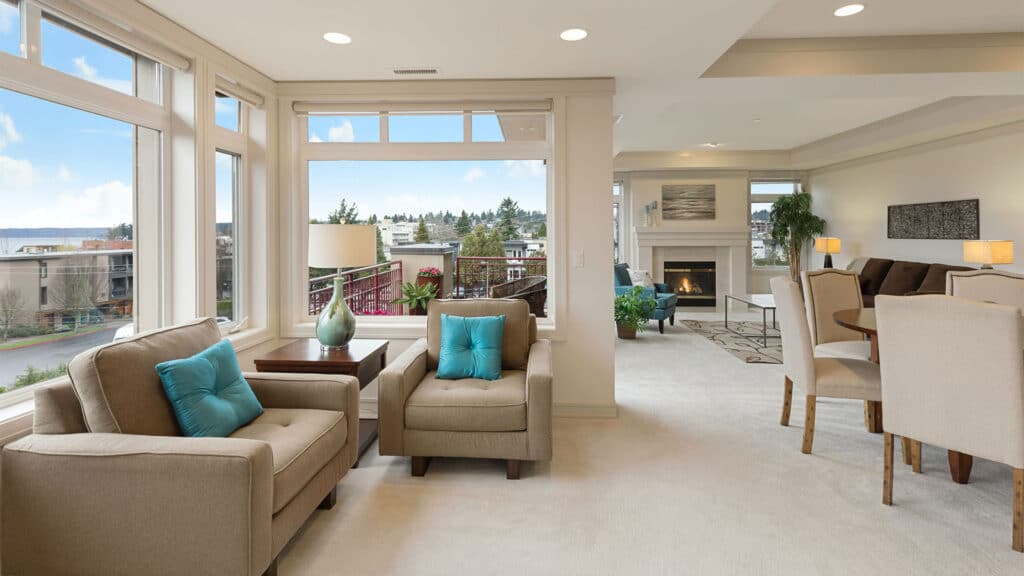
Enrich various environments and “stage” decorating situations
Now that you have cleaned and tidied up the house, you will need to “stage” it and set up small decorating situations to catch the attention of people looking at the photographs.
Here are more valuable tips on how to take pictures to sell your home.
For example, you could insert pillows, blankets or candles before photographing the living room to convey coziness and warmth. If a fireplace is present, it should be lit.
On the dining table you could put a bowl with fruit or a vase of flowers. In the bathroom you could put new, clean towels, such as placing candles or flowers in this room as well. In bedrooms, you can opt for quality bedding, possibly new, as well as decorative pillows and floral decorations.
In this way, every room in the house will gain in aesthetics and originality: the shots will then be eye-catching and very interesting.
This kind of attention falls within the scope of the
home staging
, a practice that aims to facilitate buying and selling by making the property irresistible in the eyes of buyers through various measures.
Use house light wisely
Turning on the lights makes the space warmer and cozier, but it could create an imbalance between the temperatures and colors of the various rooms-a problem that will have to be solved with post production.
Leaving the lights off ensures an even light temperature, but this choice can generate a cold, impersonal feeling.
If the property has large windows, consider opening them: natural light can enhance any room and allow for high-quality photographs.
In general, you have the best natural lighting for indoor photos when the sun is bright and shining. Outdoor shots come best, however, at sunset. If possible, avoid shooting during cloudy and rainy days, as they bring with them poor lighting and uneven white balance.
However, if you feel that natural light is not enough, then you will need to figure out how to use indoor lighting: in case the bulbs in the house have different color temperatures, turn them off and use flash instead.
Keep in mind that warm incandescent lamps and cool fluorescent lamps do not look good in real estate photographs, and that table or desk lamps that cast long shadows should be used only if the effect is dramatic and eye-catching.
Whatever decision you make, in any case, the important thing is to keep it throughout the house and be consistent so that the photographs look uniform and well thought out!

Make sure you have the right equipment to photograph your home
To take quality real estate photographs, it is not enough to use a cell phone. Some ad hoc accessories will be needed: here is a concise list.
- Camera
You will need a camera that can shoot manually. Any DSLR with a crop sensor or full frame or mirrorless camera is ideal! - Lenses
A wide-angle lens helps you capture tight spaces-the single lens tends to make rooms seem more spacious. If you have some budget available, consider buying a decentralized lens. This option is perfect for real estate photography because it eliminates the distortion typical of wide-angle lenses. - Tripods
A tripod stabilizes your camera and ensures you don’t have motion blur in your images. It also helps to maintain perspective in your shots. If you set it to five feet, all your images will be the same height!
Remember that consistency is a top priority, especially in real estate photography. - Remote trigger
If you are shooting with slow shutter speeds, it is best not to touch the camera. Pressing the shutter to take a picture can also introduce unwanted camera shake into the shots. We suggest you use a remote trigger for contactless shooting. - Flash
Strobes or off-camera flashes are among the most essential but often overlooked tools in real estate photography. They are invaluable, especially in dimly lit homes. - Light modifiers
Naked flash often creates unattractive results in real estate photography. In most cases, simply point it toward the ceiling to soften the light it produces. But what if the roof is too high or you can’t get enough rebound light?
Therefore, consider using light modifiers. In most cases, photo umbrellas are sufficient: small, light, portable, and do not intrude when photographing in confined spaces!
The importance of beautiful real estate photographs to sell your home fast
Today, the vast majority of people looking for a home to buy do so online, looking at real estate ads through their computer or smartphone. Therefore, it is most important that the photographs accompanying these ads are quality and eye-catching .
After reading our tips on how to take pictures to sell your home, if you don’t feel like dealing with this aspect of selling or don’t have time to do so, you can turn to a real estate agency capable of taking care of real estate photography as well and take the highest quality shots to best promote your property!